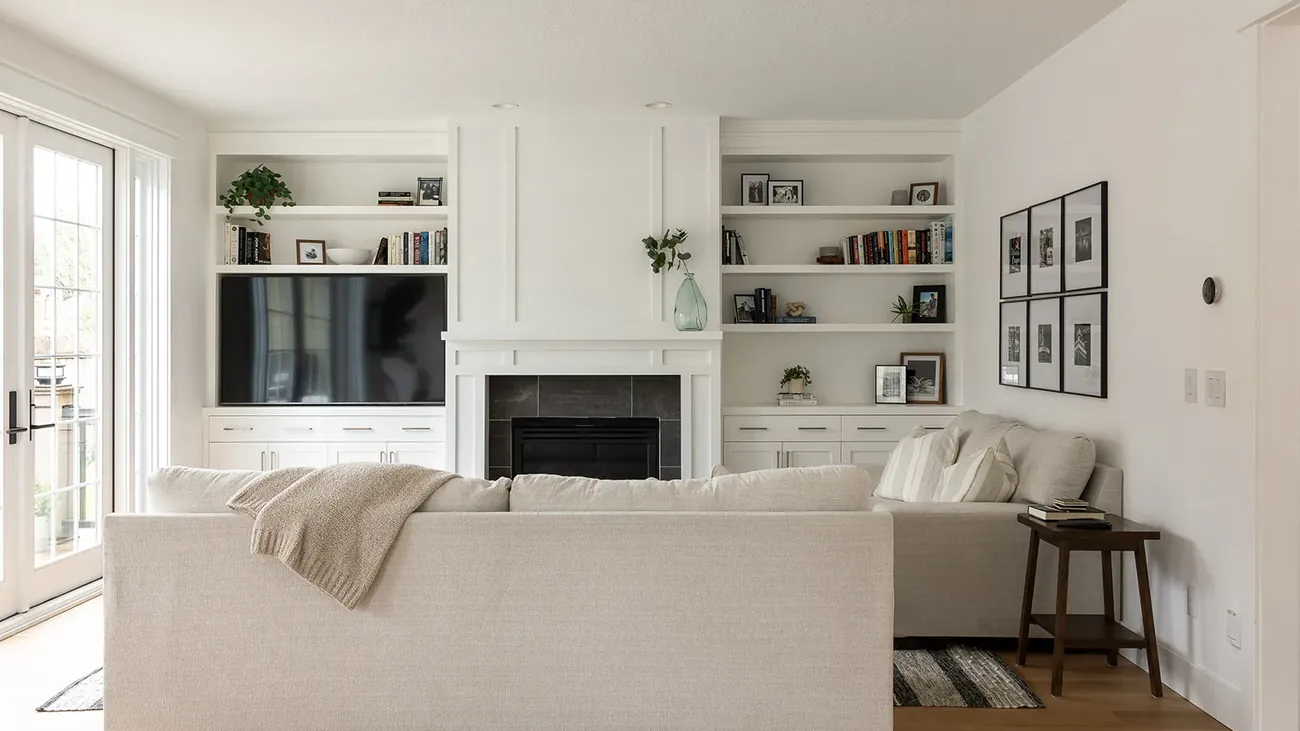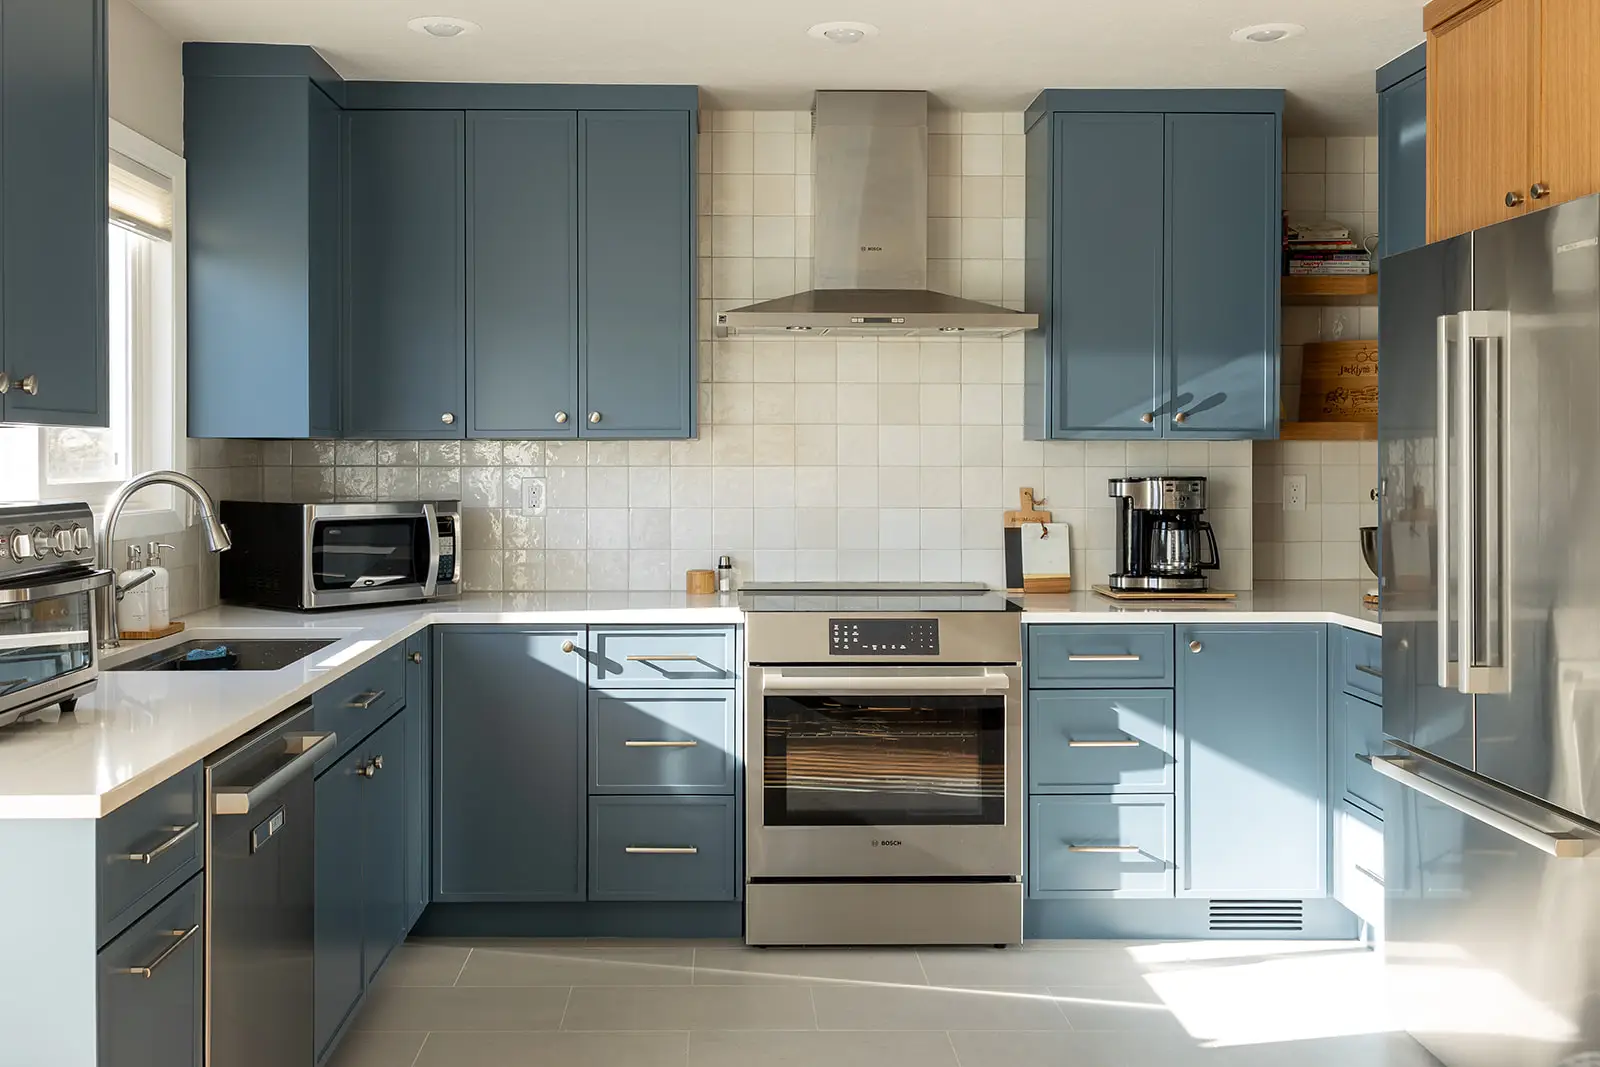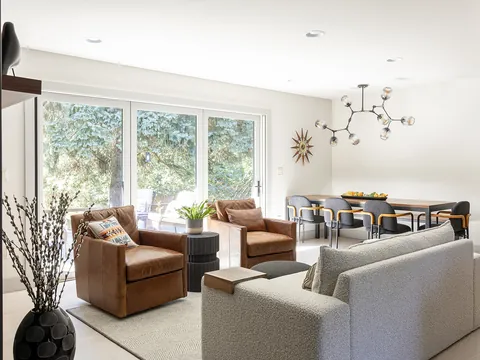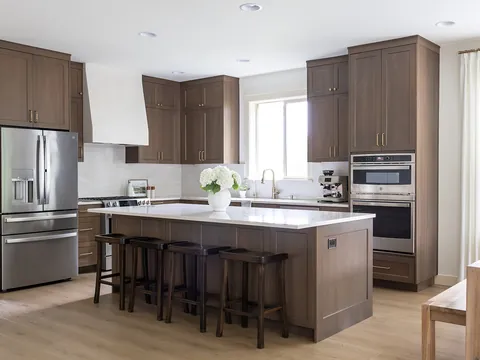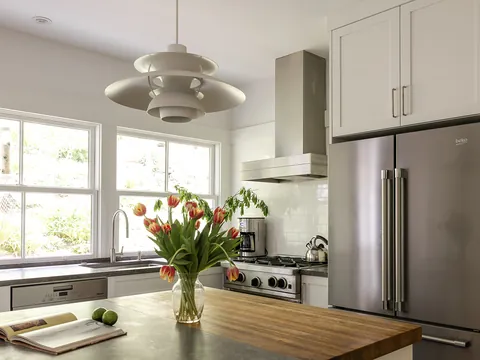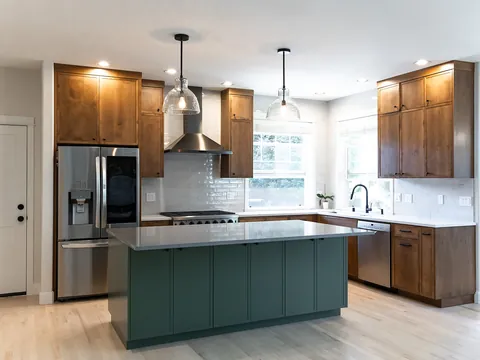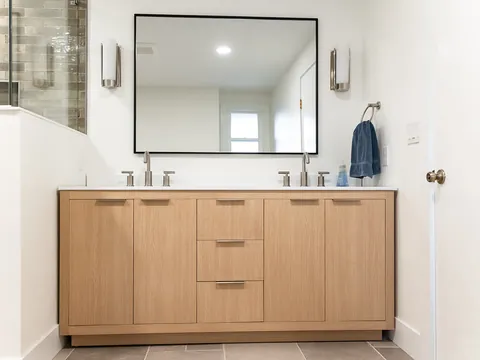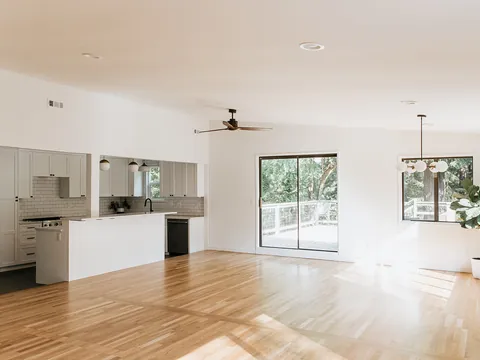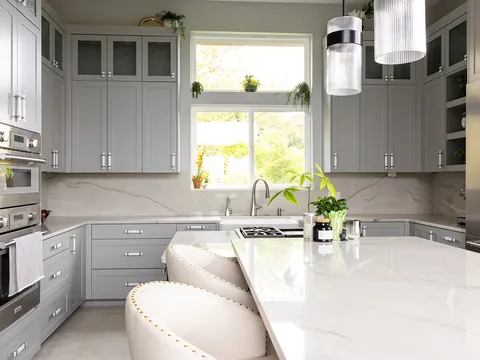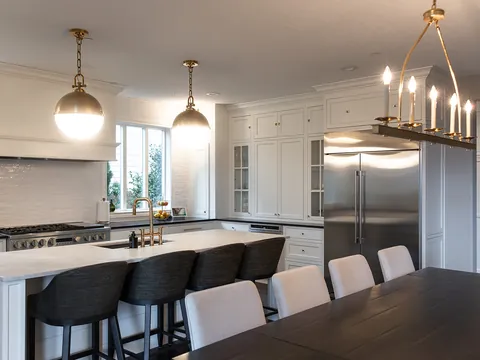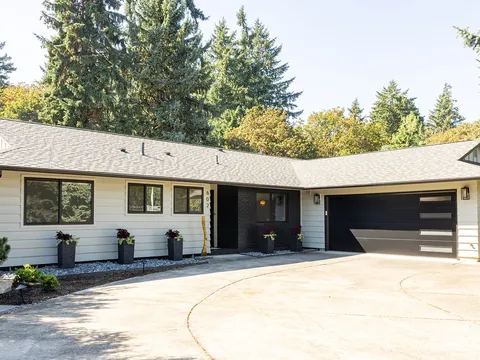

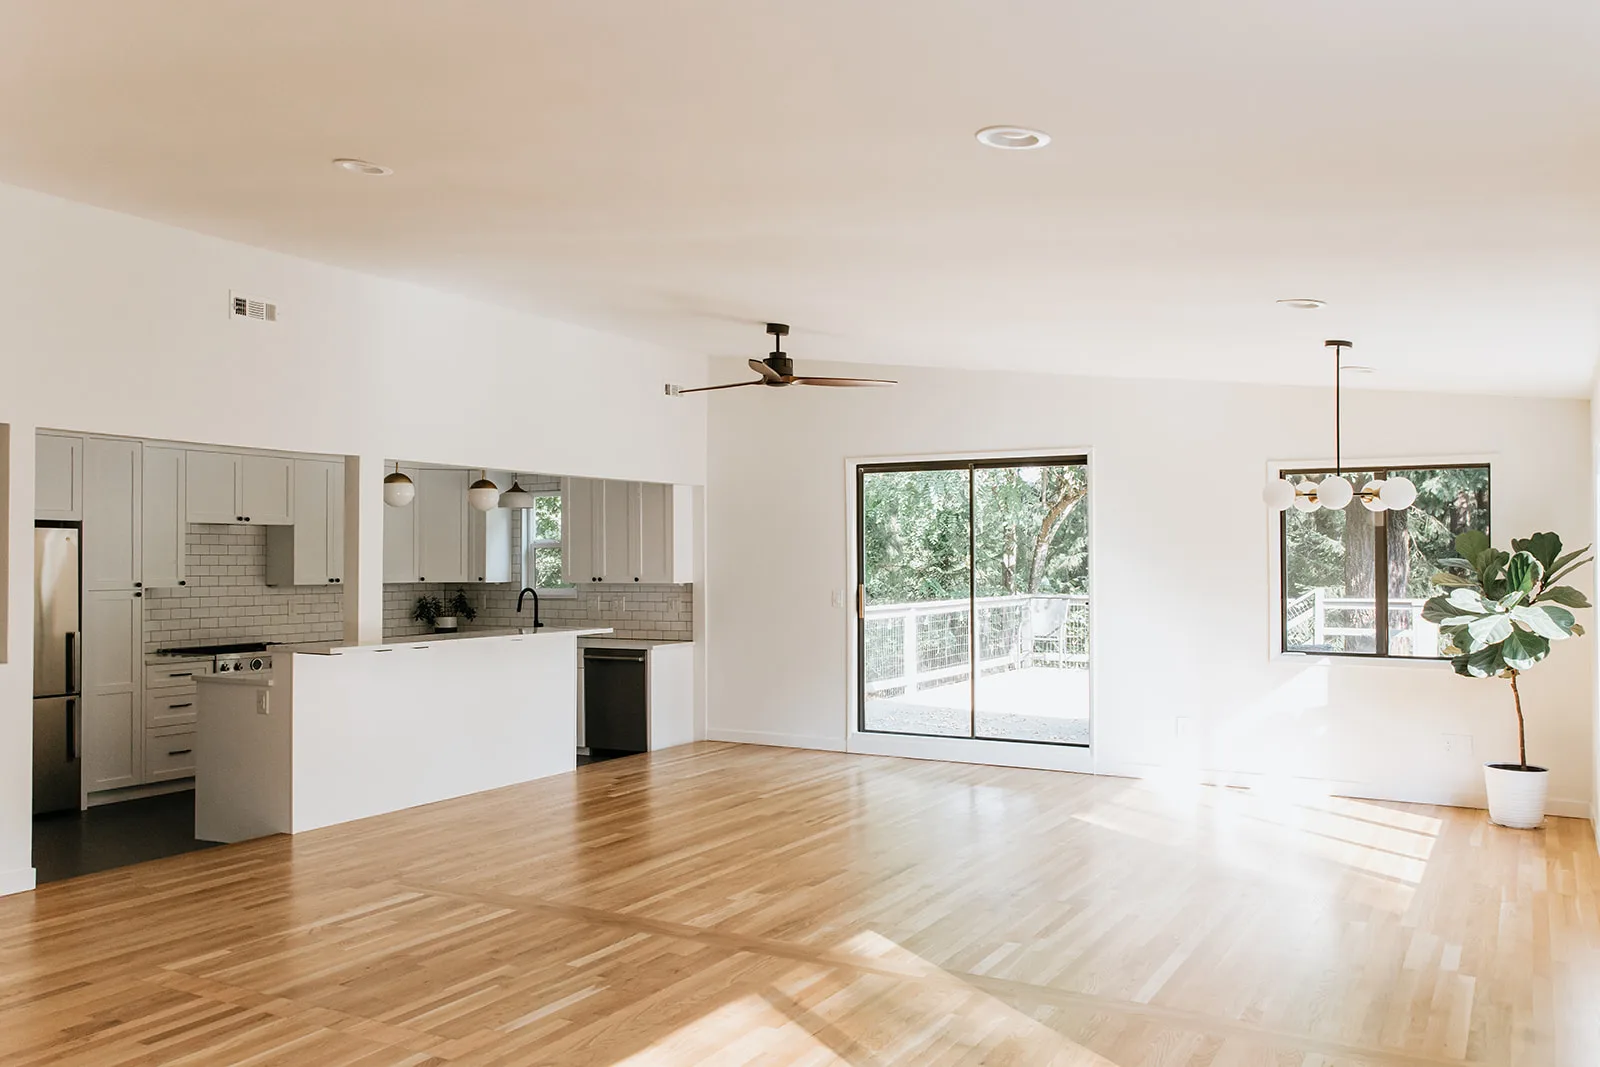

A whole-house remodel moves through the same phases every time: consultation, design, estimate, contract, permits, demolition and discovery, rough-ins, inspections, finishes, and a punch list that ends in the final walkthrough and warranty. At JDI, a standard whole-home refresh typically takes 4–7 months on site once design and permits are done, and mid-sized or large homes and projects with additions take 7–14 months. Knowing what happens in each phase makes the months in between much easier to live with.
1. First call and in-home consultation
The first visit is free and happens at your house. JDI walks the rooms with you and talks through what you want to change, your budget, your timeline and how you use the house now. For a whole-house project, this is also when the bigger questions come up: which walls you want gone, whether the house needs another bathroom, and whether you plan to stay in it during construction.
One practical check at this stage is jurisdiction. A Vancouver mailing address does not always mean the City of Vancouver issues your permits. Homes in unincorporated Clark County go through the county, and electrical permits there come from the state Department of Labor and Industries (L&I).
2. Design and 3D
JDI provides 3D design free when you schedule a bid. In the design phase you settle the layout, then the finishes: cabinets, counters, tile, flooring, fixtures and lighting. 3D renderings let you see the rooms before anything is torn out, which matters most when walls are moving.
A whole-house remodel is also the one time it is efficient to fix what is behind the walls: the electrical panel, old plumbing, insulation and ventilation. Those decisions belong in design, not halfway through construction.
3. The estimate
After the in-home visit and preliminary design, JDI provides a firm, written, line-item quote, typically 2–3 weeks after the visit. Before that point, JDI's whole-home cost calculator gives budgeting ranges by home size and finish level, but a range is not a bid.
4. Contract, deposit and required paperwork
Washington law adds a few documents before work starts:
- Disclosure statement. For residential work of $1,000 or more, the contractor must give you a signed "Notice to Customer" before starting, under RCW 18.27.114. It shows the contractor's registration number and bond, and explains that your property can be liened if a supplier or subcontractor goes unpaid.
- Lien information. Contractors must also give you L&I's lien information sheet. Our Washington lien law guide explains lien releases and joint checks.
- A written contract. L&I's Hire Smart guidance recommends the contract state the price including sales tax, the payment terms, permit fees, the specific work, materials and subcontractors, warranties and the change-order process. On payments, L&I advises a reasonable down payment and then paying as specific phases are completed. See contracts, deposits and change orders for more.
You can check any contractor's registration, bond and insurance on L&I's Verify tool. JDI's Washington registration number is JDICOCN932KZ.
One tax step belongs here too. Washington's three-year home improvement property tax exemption requires an application to the Clark County Assessor. The safe timing is before work starts, and in any case before it is completed; the county form asks for the building permit number.
5. Permits
In Vancouver city limits, additions and remodels need a residential building permit, submitted electronically through the city's ePlans system. A remodel submittal includes an existing and demolition plan, a proposed floor plan, exterior elevations if the outside changes, energy code forms and structural calculations where required. The plumbing, mechanical and electrical work that is part of the remodel is included in the same residential permit.
The city's residential permit page sets an intake goal of one to two business days but publishes no review-time target. Its guidance is that complete, accurate plans are the main factor in how long review takes. Once issued, the approved plans and inspection card stay on the job site.
6. Demolition and discovery
Demolition is fast, dusty and the loudest part of the job. Before it starts in an older home, two rules apply:
- Asbestos. Under SWCAA 476, Clark County's asbestos rule (current version effective March 22, 2026), the owner or owner's agent must either treat suspect materials as asbestos or have them surveyed by an accredited inspector before renovation. If asbestos must be removed, a 10-day notice period applies first. Our asbestos rules guide covers the details.
- Lead paint. In homes built before 1978, renovation must be done by a certified firm using lead-safe practices, with containment so dust does not leave the work area.
Discovery is what you find once walls and floors are open: old water damage under a tub, undersized framing, or wiring from another era. Homes wired between 1965 and the mid-1970s may have aluminum branch-circuit wiring, which the Consumer Product Safety Commission says should be repaired by a qualified electrician. Any change to scope or price should be written as a change order before the work proceeds.
7. Framing and rough-ins
With the house opened up, new walls and beams go in, followed by the rough-ins: drain and supply lines, gas piping, ductwork, and electrical wiring and boxes. On JDI projects, plumbing is done by separate licensed plumbing contractors and electrical by licensed electrical contractors, coordinated by JDI's project manager. The city's application form itself asks for the licensed plumbing contractor.
8. Inspections
Inspections follow the order of the work, and the city code says work cannot go past each inspection point until it is approved. The usual sequence:
- Rough plumbing, electrical and mechanical inspections.
- Framing inspection, after the rough-ins are approved.
- Insulation and energy inspection, before any drywall covers it.
- Drywall nailing inspection, where the wall is part of a fire-rated or bracing assembly.
- Final inspections for each trade, then final building.
JDI schedules the city inspections. In the city, a request made after 7 a.m. is inspected the next business day at the earliest.
9. Finishes
This is the phase most people picture: drywall, paint, cabinets, counters, tile, flooring, trim, fixtures and appliances. It is also where the house starts to feel livable again, room by room. Templating for stone counters, tile work and final plumbing and electrical trim happen in a set order, so a late selection can hold up the rooms that follow it.
10. Punch list, final walkthrough and warranty
Near the end, you and the project manager walk the house and list every item that still needs attention. Once the list is done and the final inspections pass, the final walkthrough closes the project. You receive documentation of installed products, vendor warranties and JDI's 5-year written workmanship warranty.
Before final payment, L&I recommends asking for lien releases from each contractor and supplier. If you filed for the property tax exemption, notify the Assessor in writing that the work is complete.
How long each type of project takes
| Project | Typical time on site (after design and permits) |
|---|---|
| Standard refresh, 1,500–2,500 sq ft (kitchen, 1–2 baths, living areas) | 4–7 months |
| Mid-sized and large homes, and projects with additions | 7–14 months |
| Phased project (for example kitchen and primary bath first) | Longer overall; adds about 5–10% to cost |
Staying in the house or moving out
JDI stages work so you can stay in the house whenever possible, and schedules a formal move-out window when the work requires it. Whether staying makes sense depends on a few questions:
- Will you have at least one working bathroom through the whole project?
- Can you live without a kitchen for the weeks it is out of service?
- Does anyone in the house work from home, have health issues sensitive to dust, or include young children in a pre-1978 home?
- Can the work be split so one part of the house stays closed off and clean?
Our guide to living through a kitchen remodel covers temporary kitchens and dust control.
Phasing a whole-house remodel
A project can also be split into phases, such as the kitchen and primary bath first, then an addition or the secondary bathrooms. Phasing lets you spread the cost and live in finished rooms sooner. It adds about 5–10% compared with one continuous build, because each phase repeats setup, protection and scheduling.
Frequently asked questions
How long does a whole-house remodel take?
At JDI, a standard refresh typically runs 4–7 months on site after design and permits, and mid-sized or large homes and projects with additions run 7–14 months. Design and permitting come before that.
Do I have to move out?
Often not for the whole project. Work is staged so you can stay when possible, with a planned move-out window for the phases that make the house hard to live in.
Who does the plumbing and electrical work?
Separate licensed plumbing contractors and licensed electrical contractors, coordinated by JDI's project manager and inspected under the permit.
What happens if you find damage behind the walls?
You see it, the project manager explains the options, and any change to scope or price is written up as a change order before the work goes ahead.
Rules change; confirm current requirements with the City of Vancouver Permit Center or Clark County before you design.
How JDI can help
JDI Construction runs design and construction as one team, with a dedicated project manager as your main contact through construction and the final walkthrough. Read how that works on our process page or in our earlier post on what to expect from the remodeling process, and when you are ready, start with a free consultation for your whole-house remodel.
Keep going: Whole-house remodeling in Vancouver · Estimate your cost · Completed projects · How a JDI project runs · Client reviews