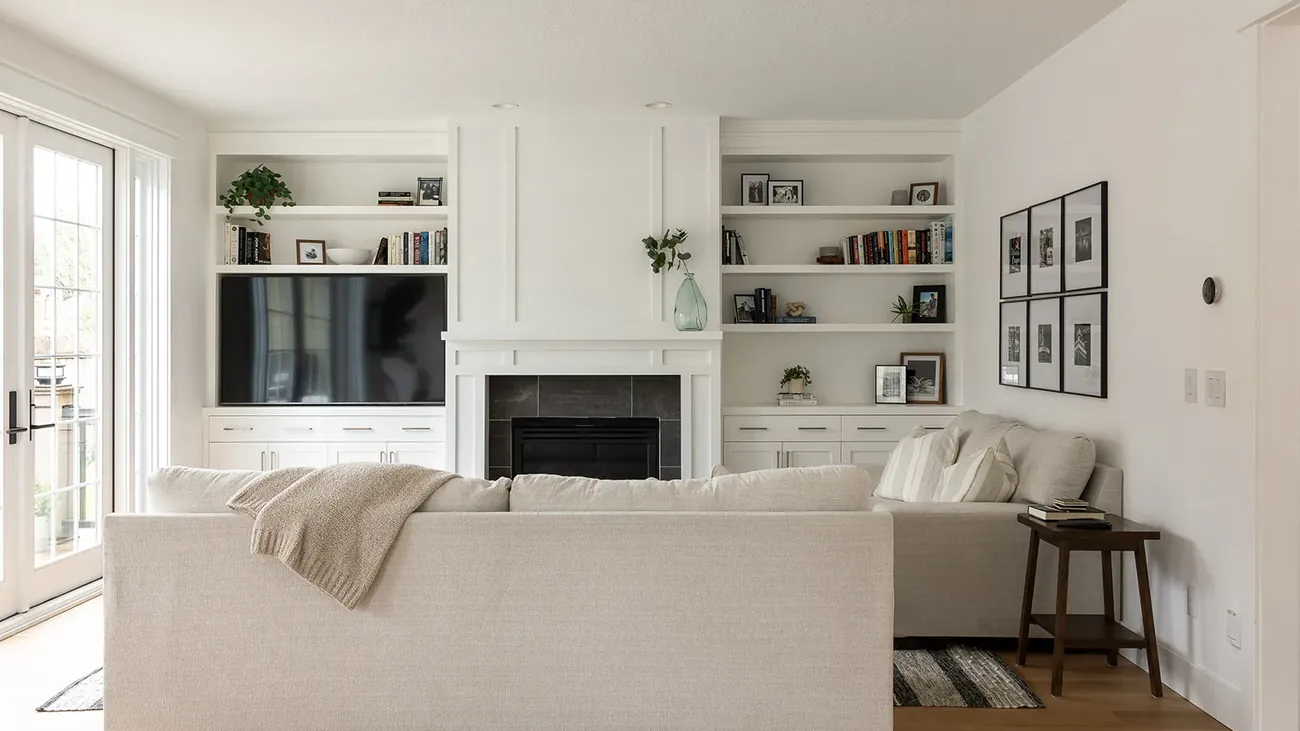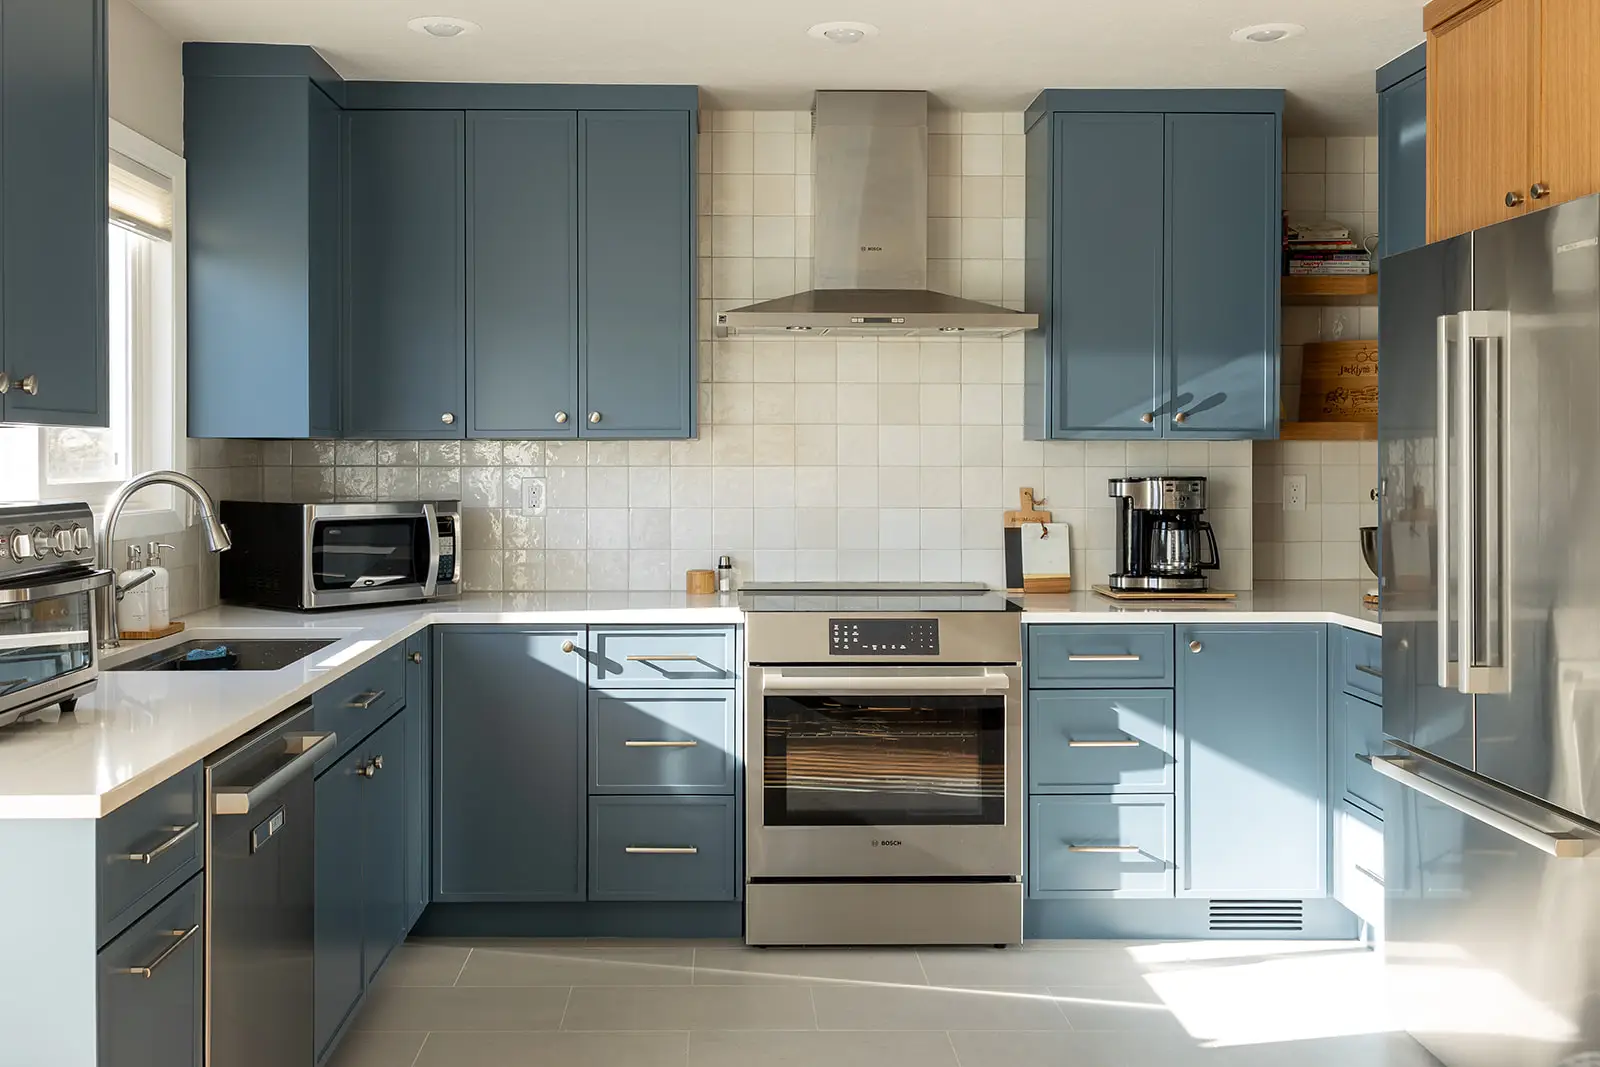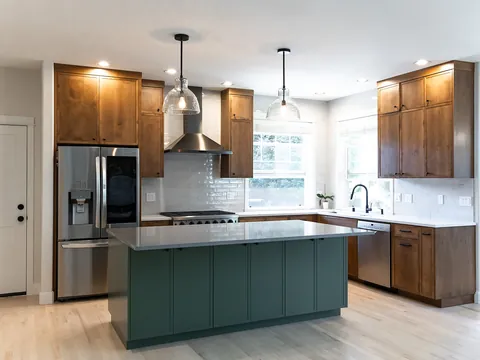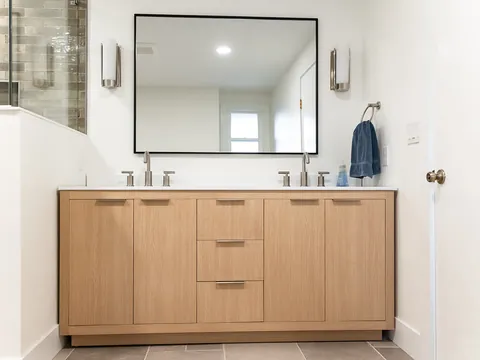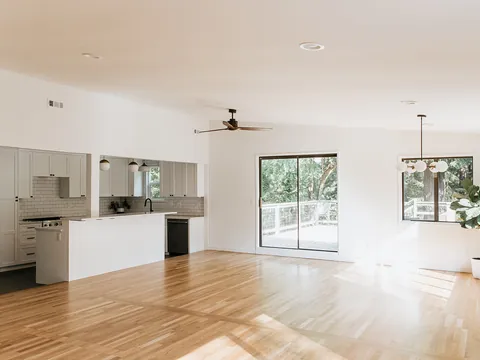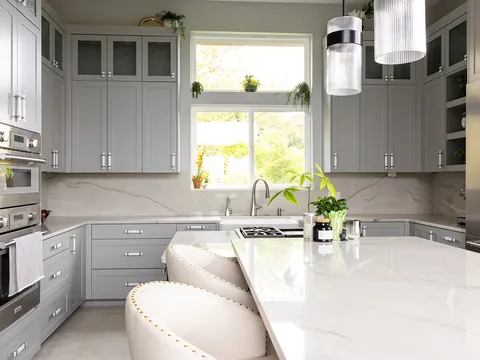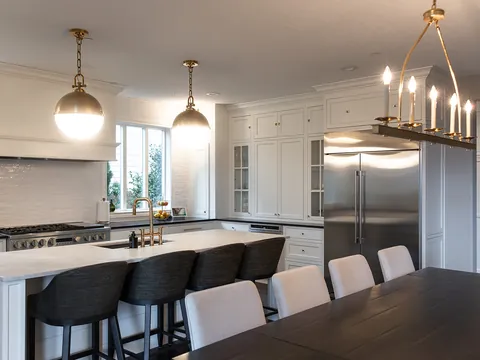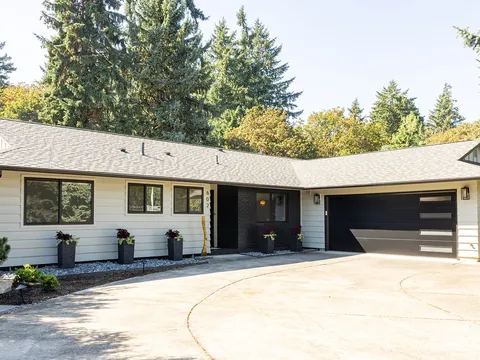

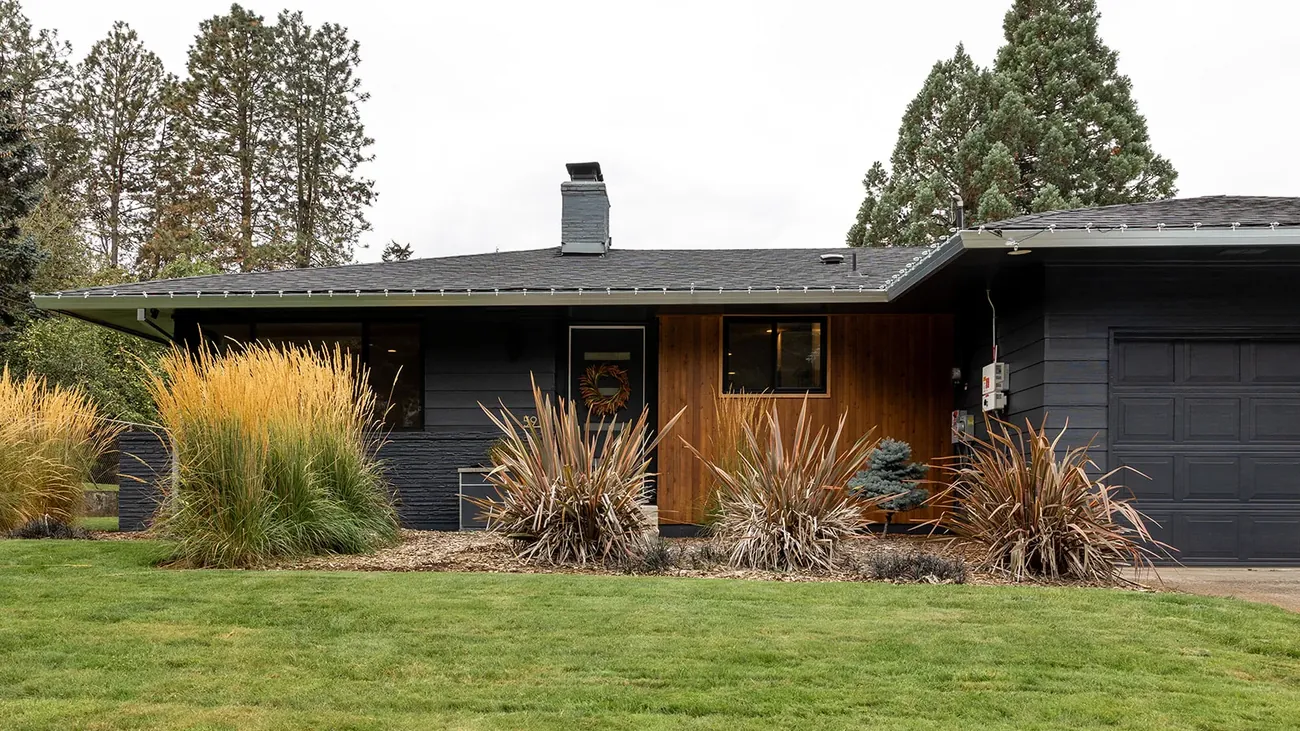

A 1950s to 1970s ranch or split-level is a very good house to remodel: simple structure, usable lot, and a floor plan that opens up well. The work goes smoothly when you plan for what houses of that age usually hide: lead paint on anything built before 1978, materials that must be treated as asbestos until tested, aluminum branch wiring in some homes wired from 1965 to the mid-1970s, and insulation and windows well below today's standards. Budget a contingency for what turns up, because final pricing depends on what we find behind the walls.
How many Vancouver homes are mid-century?
A lot of them. Census Bureau estimates for 2020 to 2024 put 30.6 percent of Vancouver's housing units in the 1950 to 1979 range, and the 1970s alone account for 18.1 percent, one of the two biggest decades in the city's housing stock. The City's own neighborhood descriptions note that Central Park's "newer" homes went up in the 1940s and 1950s, and that Fircrest in east Vancouver has "classic 1970s homes." Our guide to kitchens by Vancouver home era describes what each decade tends to look like inside.
Typical layouts, and what owners usually want to change
Ranch homes are single-story, often long and low, with a closed kitchen, a separate living room and dining room, a hallway to the bedrooms, and one or two small bathrooms. The most common requests: open the kitchen to the living area, enlarge or add a primary bath, and bring more light into the middle of the house.
Split-levels stack the house in half-flights: living spaces on one level, bedrooms half a flight up, and a family room and garage half a flight down. Owners often want a more connected main level and better stairs. Because every level change involves a stair, structural and layout changes in a split-level ripple further than in a ranch.
Both types usually have simple roof framing and straightforward floor systems, which makes them good candidates for opening walls. The question is always which walls carry the roof, and what is inside them.
What is behind the walls
Lead paint (homes built before 1978)
EPA says that if your home was built before 1978, it is more likely to have lead-based paint, and that about three-quarters of U.S. homes built before 1978 still contain some (EPA, sources of lead). In Washington, renovation for pay in a pre-1978 home falls under the state Department of Commerce's lead-based paint program. The firm must be certified, it must give you the EPA pamphlet The Lead-Safe Certified Guide to Renovate Right no more than 60 days before work starts, and it must use containment and cleanup practices. Small jobs that disturb 6 square feet or less of painted surface per room inside, or 20 square feet outside, are treated as minor repair, but window replacement and demolition never are. See our guide to lead paint rules for what you should see on site.
Asbestos
Clark County's air agency, SWCAA, updated its asbestos rule effective 22 March 2026. Before any renovation, the property owner or the owner's agent must determine whether suspect asbestos materials are in the work area, and then either treat them as asbestos or have them inspected by an AHERA-accredited building inspector. Suspect materials include "flooring material, mastics, textures, and cement siding regardless of year installed" (SWCAA asbestos program). In a mid-century house, think vinyl floor tile and its adhesive, textured ceilings, and, according to EPA, attic insulation made with vermiculite.
If asbestos is found and has to be removed, a certified abatement contractor does the work after a 10-day notice period. State law also requires the owner to give contractors a good-faith inspection before work begins, and L&I can fine both owner and contractor for skipping it. Our guide to asbestos rules explains the steps. In practice, we order the survey early so results are back before demolition is scheduled.
Aluminum branch-circuit wiring
The U.S. Consumer Product Safety Commission's Publication 516, "Repairing Aluminum Wiring" explains that a copper shortage in the mid-1960s led builders to use more aluminum wire. CPSC says "Homes built before 1965 are unlikely to have aluminum branch circuit wiring," while cables installed between 1965 and the mid-1970s, in new homes, additions and rewired circuits, may contain it. A CPSC-sponsored survey found that homes built before 1972 and wired with aluminum were 55 times more likely to have one or more connections reach "Fire Hazard Conditions" than homes wired with copper.
Warning signs CPSC lists include warm cover plates on outlets or switches, flickering lights, dead circuits, and a burning-plastic smell, but it also notes that failing connections "seldom provide easily detected warning signs." Cable jackets marked "Al" or "Aluminum" every few feet are the giveaway. CPSC recognizes three permanent repairs: replacing the cable with copper, the COPALUM method, or AlumiConn connectors. It calls rewiring "the best method available," and that pigtailing with ordinary twist-on connectors is not a recommended repair. This is work for a licensed electrical contractor, not a weekend project.
Older plumbing
The City of Vancouver says the main source of lead in drinking water here is household plumbing installed before 1986, when lead solder and higher-lead brass fixtures were still in use (City of Vancouver, lead and drinking water). The City's own service-line inventory found no lead service lines in its distribution system, so the question is the pipe inside your walls. A whole-home remodel, with walls open, is the most economical time to replace old supply and drain lines, and it is a good time to look for hidden water damage around old bathrooms.
Opening walls
Opening the kitchen to the living room is the most common change in a mid-century remodel. If the wall is non-bearing, it is mostly demolition and patching. If it carries the roof or ceiling, it needs a beam sized by code tables or an engineer, posts that carry the load down to a footing, and a permit. Removing exterior wall sections or widening openings can also reduce the house's bracing against wind and earthquakes, which the plans have to account for. JDI's calculator lists opening up walls or creating a new floor plan as a $15,000 to $42,000 add-on. Our guide to opening a wall covers the details.
Opened walls sometimes reveal earlier work done without permits. The City has a Field Evaluation Permit, an inspection-only permit, for assessing what permit is needed when that happens.
Energy upgrades worth making while the walls are open
- Wall insulation. Under the 2021 Washington State Energy Code, when an existing exterior wall cavity is exposed, it has to be filled with insulation: at least R-15 in 2x4 walls and R-21 in 2x6 walls (WAC 51-11R-50300).
- Windows. Replacement windows must meet a U-factor of 0.30 or better.
- Attic. Once any suspect vermiculite is dealt with, adding attic insulation is often one of the simplest upgrades.
- Heating. If your furnace or heat pump is near the end of its life, a replacement can be sized for the better-insulated house.
- Lighting. New permanently installed fixtures in a permitted remodel must use high-efficacy sources.
A permitted remodel also brings the whole house up to current smoke alarm requirements, which in older homes often means adding alarms in every bedroom.
What to budget for discovery
JDI's whole-home calculator gives 2026 ranges for the Portland–Vancouver market. A standard refresh of a 1,500 to 2,500 square-foot home, covering the kitchen, one or two baths and living areas, runs $85,000 to $140,000, $140,000 to $240,000, or $240,000 to $420,000 by finish level. Add-ons that come up often in mid-century homes include new HVAC ($10,000 to $24,000), sitewide windows ($18,000 to $48,000) and sitewide flooring ($16,000 to $38,000). On site, a standard refresh typically takes 4 to 7 months after design and permits.
For an older home, plan the budget in three layers:
- Known scope: the kitchen, baths, layout and finishes you have chosen.
- Testing up front: the asbestos survey and, where needed, lead testing, before demolition.
- Discovery allowance: money set aside for what testing and demolition reveal, such as abatement, wiring repairs, rotted framing at old leaks, or pipe replacement.
Final pricing depends on what we find behind the walls. Testing early shrinks that unknown, and a written change-order process keeps decisions clear when something does turn up.
Rules change; confirm current requirements with the City of Vancouver Permit Center and SWCAA before you design.
Frequently asked questions
Do I need an asbestos survey for a remodel?
If a contractor is doing the work, SWCAA's rule requires the owner or agent to either have suspect materials inspected by an AHERA-accredited inspector or treat them as asbestos. Most owners choose the survey, because presuming everything is asbestos is expensive.
How do I know if my house has aluminum wiring?
Look for cable jackets marked "Al" or "Aluminum" in the attic, basement or panel, or have a licensed electrician check. CPSC says homes built before 1965 are unlikely to have it; homes wired from 1965 to the mid-1970s may.
Is it worth opening up a ranch floor plan?
Usually, if the wall can be removed without a large engineered beam or major rerouting of plumbing and ducts. A design visit can tell you which walls are bearing and what the change involves.
Can I live in the house during a whole-home remodel?
Sometimes, with phasing. During asbestos removal or lead work in occupied areas, you may need to stay elsewhere for part of the project.
How JDI can help
JDI Construction has remodeled homes in Vancouver and Clark County since 2007. For older homes we schedule testing early, show you the layout in free 3D design, and give you a firm written quote with a clear plan for discovery. See our whole-house remodeling in Vancouver, WA, or schedule a free in-home consultation.
Keep going: Whole-house remodeling in Vancouver · Estimate your cost · Completed projects · How a JDI project runs · Client reviews